Hello! It’s Amy here and I’m sharing a halloween themed slimline project today. I really love making fall themed cards and halloween is generally a favorite. This year I haven’t made as many as I have in the past, but I still have a couple of weeks to remedy that.
Today I’ve combined All Hallow’s Cuteness and It’s BOO-Tastic! These sets are so much fun and two of my favorites! I added a non-traditional color to my halloween designs and love how it turned out.
Every image on this particular card is on foam dimensionals. I love how it adds more interest to the overall design.
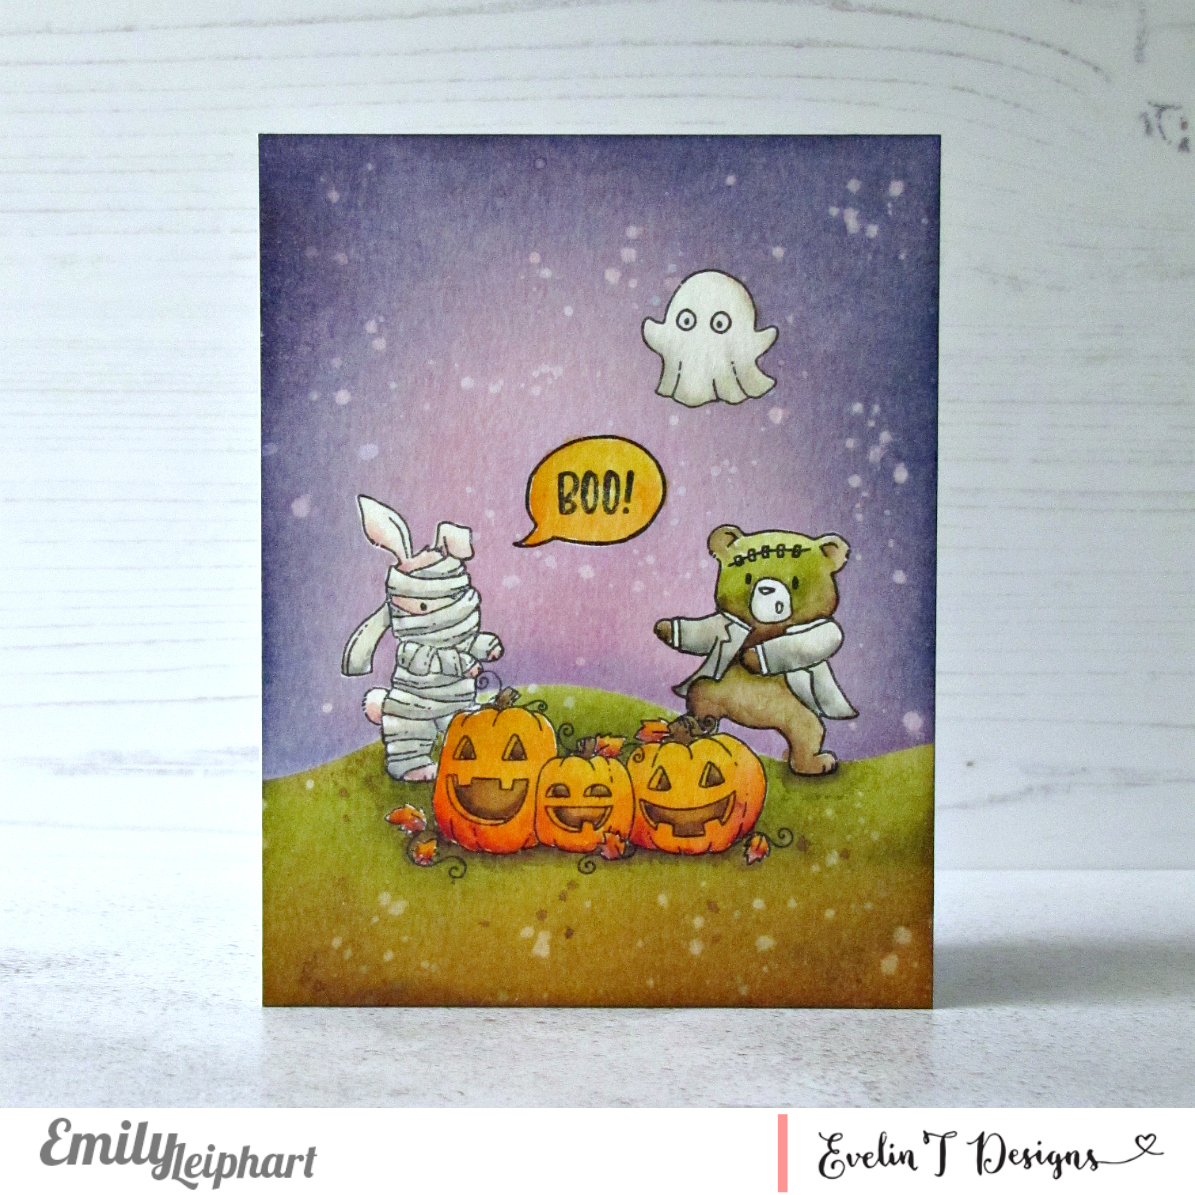
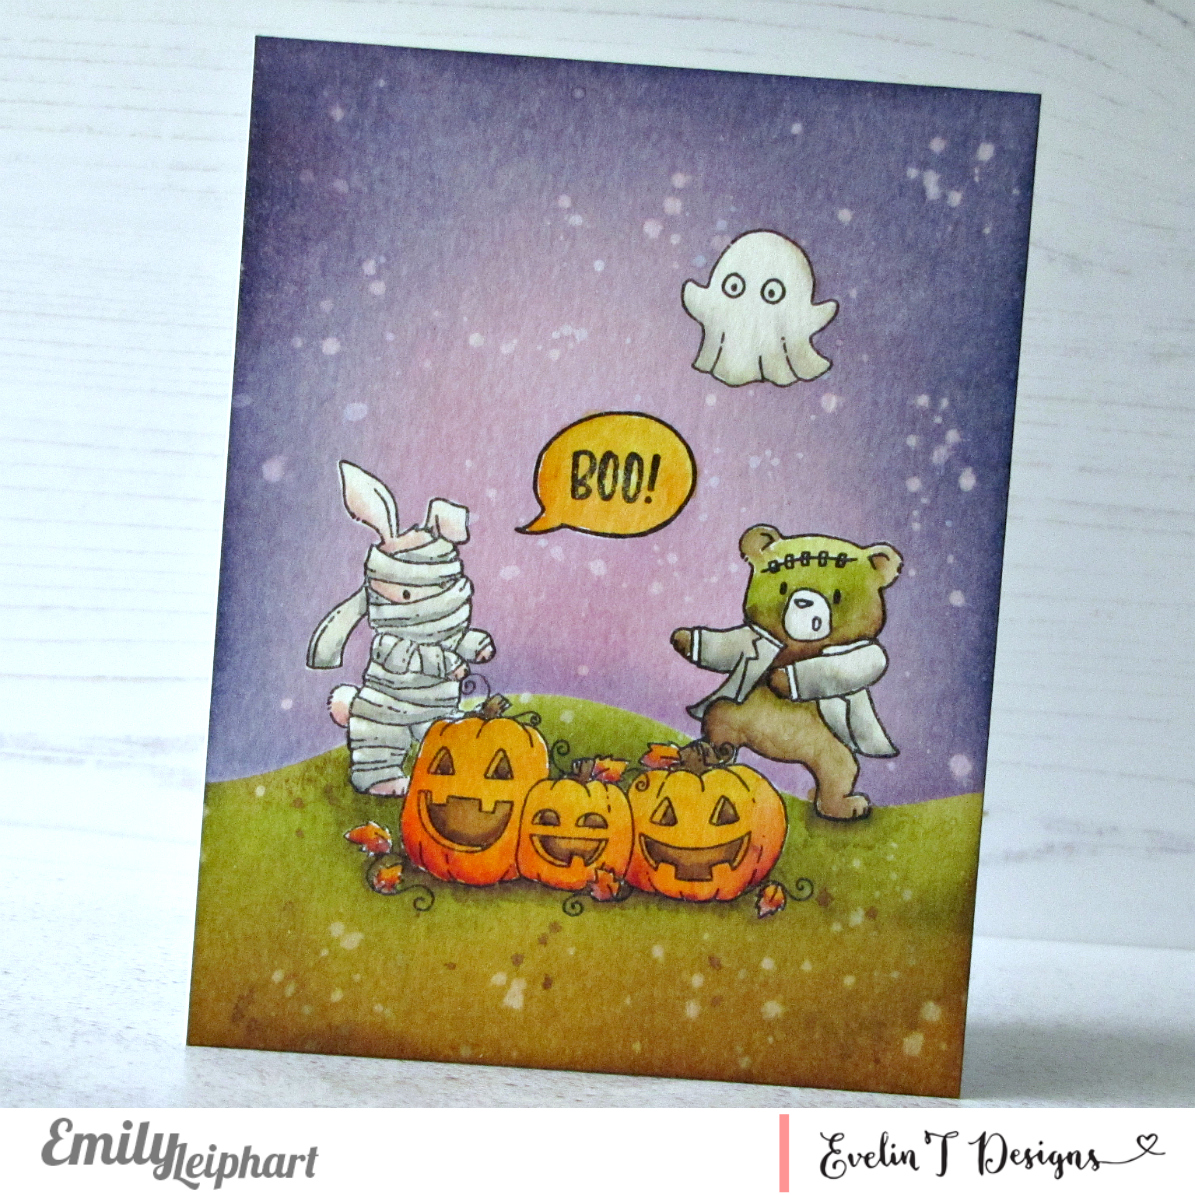
On this eve of Halloween, I’m featuring It’s BOO-tastic!. I loved creating this masked one-layer card with these adorably spooky images. I started by stamping the images and creating masks for them. I stamped the pumpkins first on watercolour cardstock, placed the mask to protect it and stamped the rest of the images.
After stamping all of the images, I left their masks in place, cut a hill from masking paper and sponged the background with distress inks. Then I splattered the background with water and two distress spray stains. Then I removed the masks and used distress inks to watercolour the images.
If you are celebrating, I hope you all have a wonderful Halloween, whether you’re trick-or-treating with your kids or having a party in your home or elsewhere.
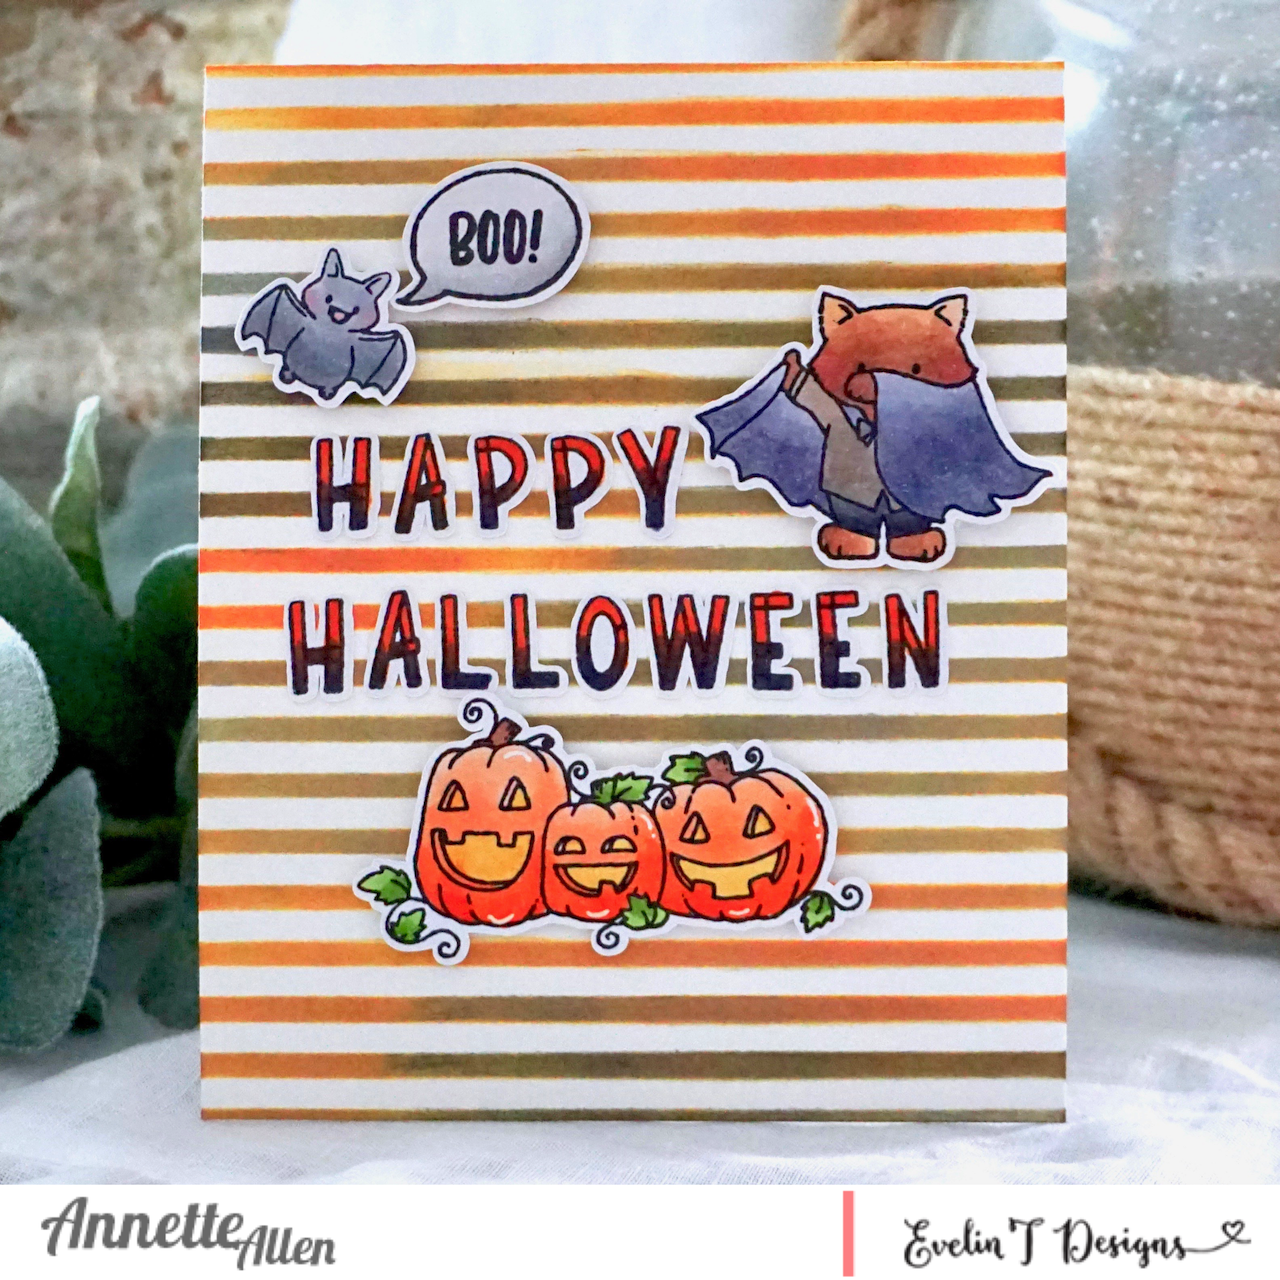
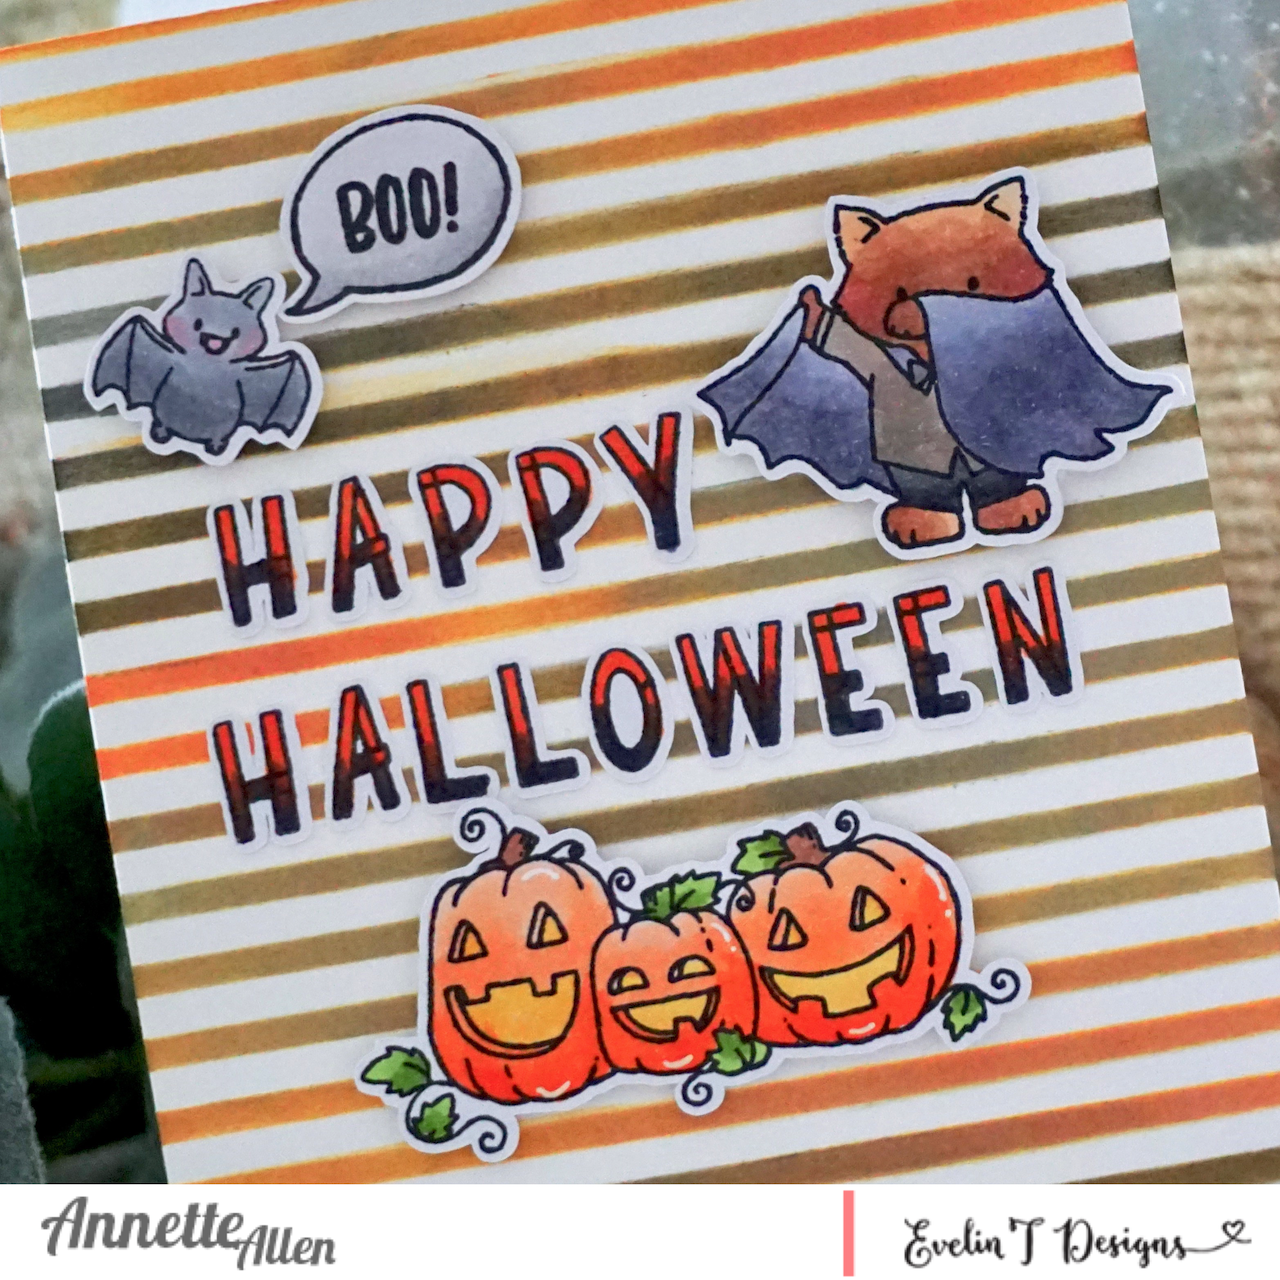
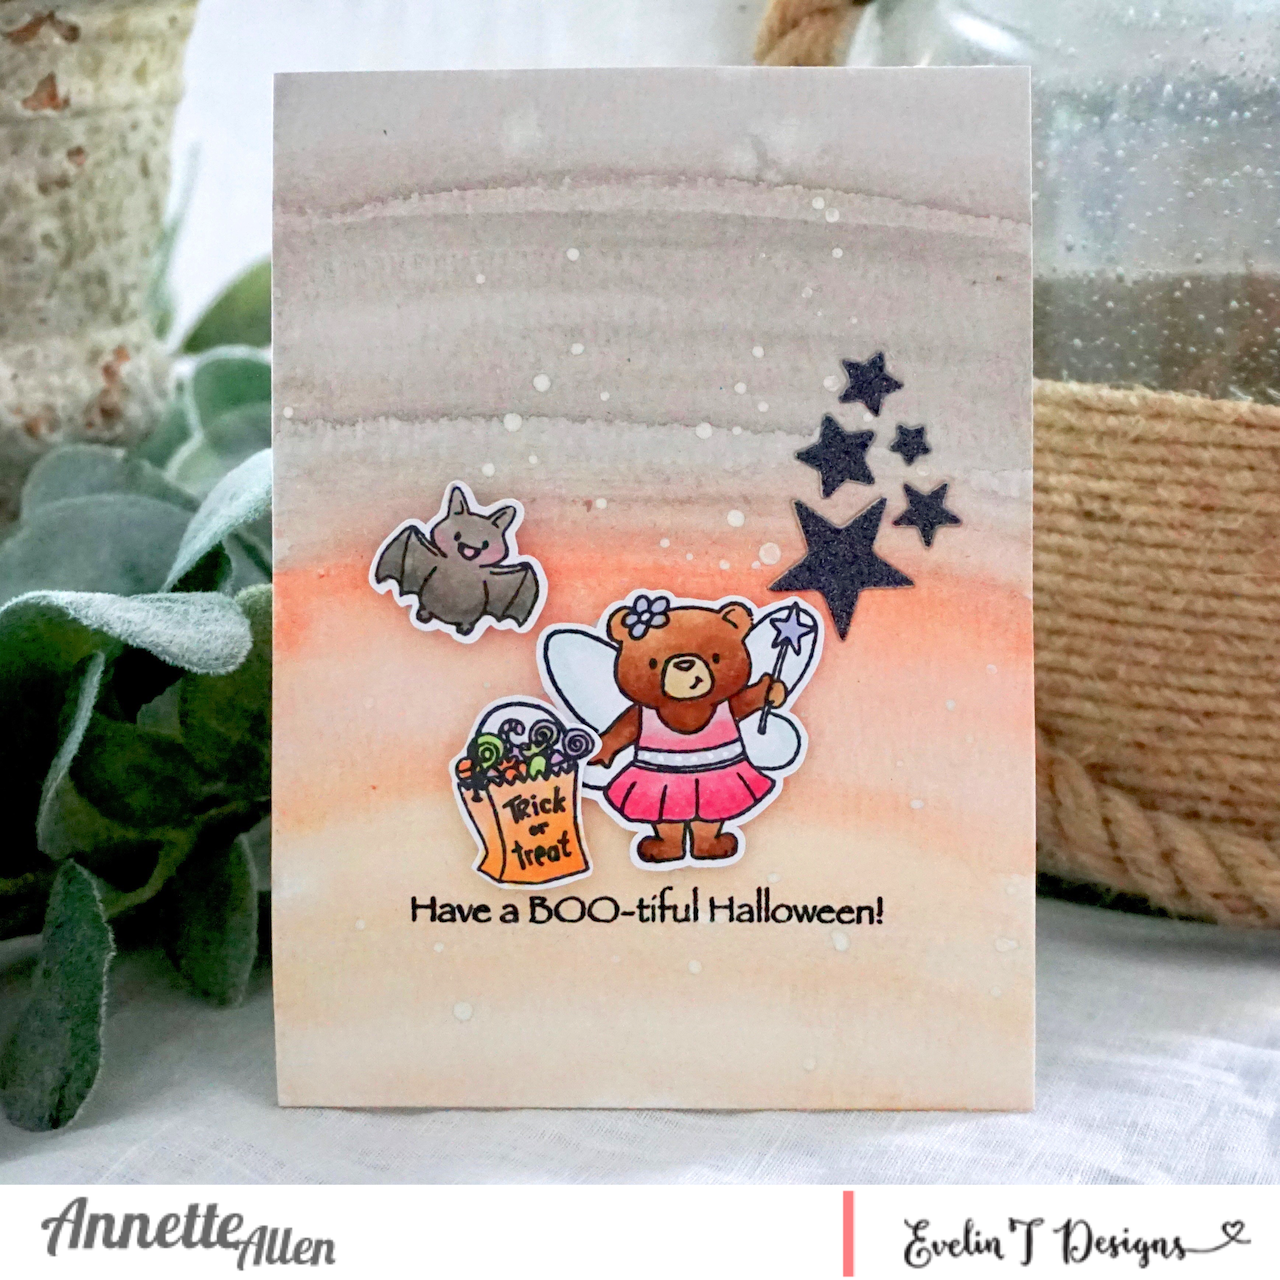
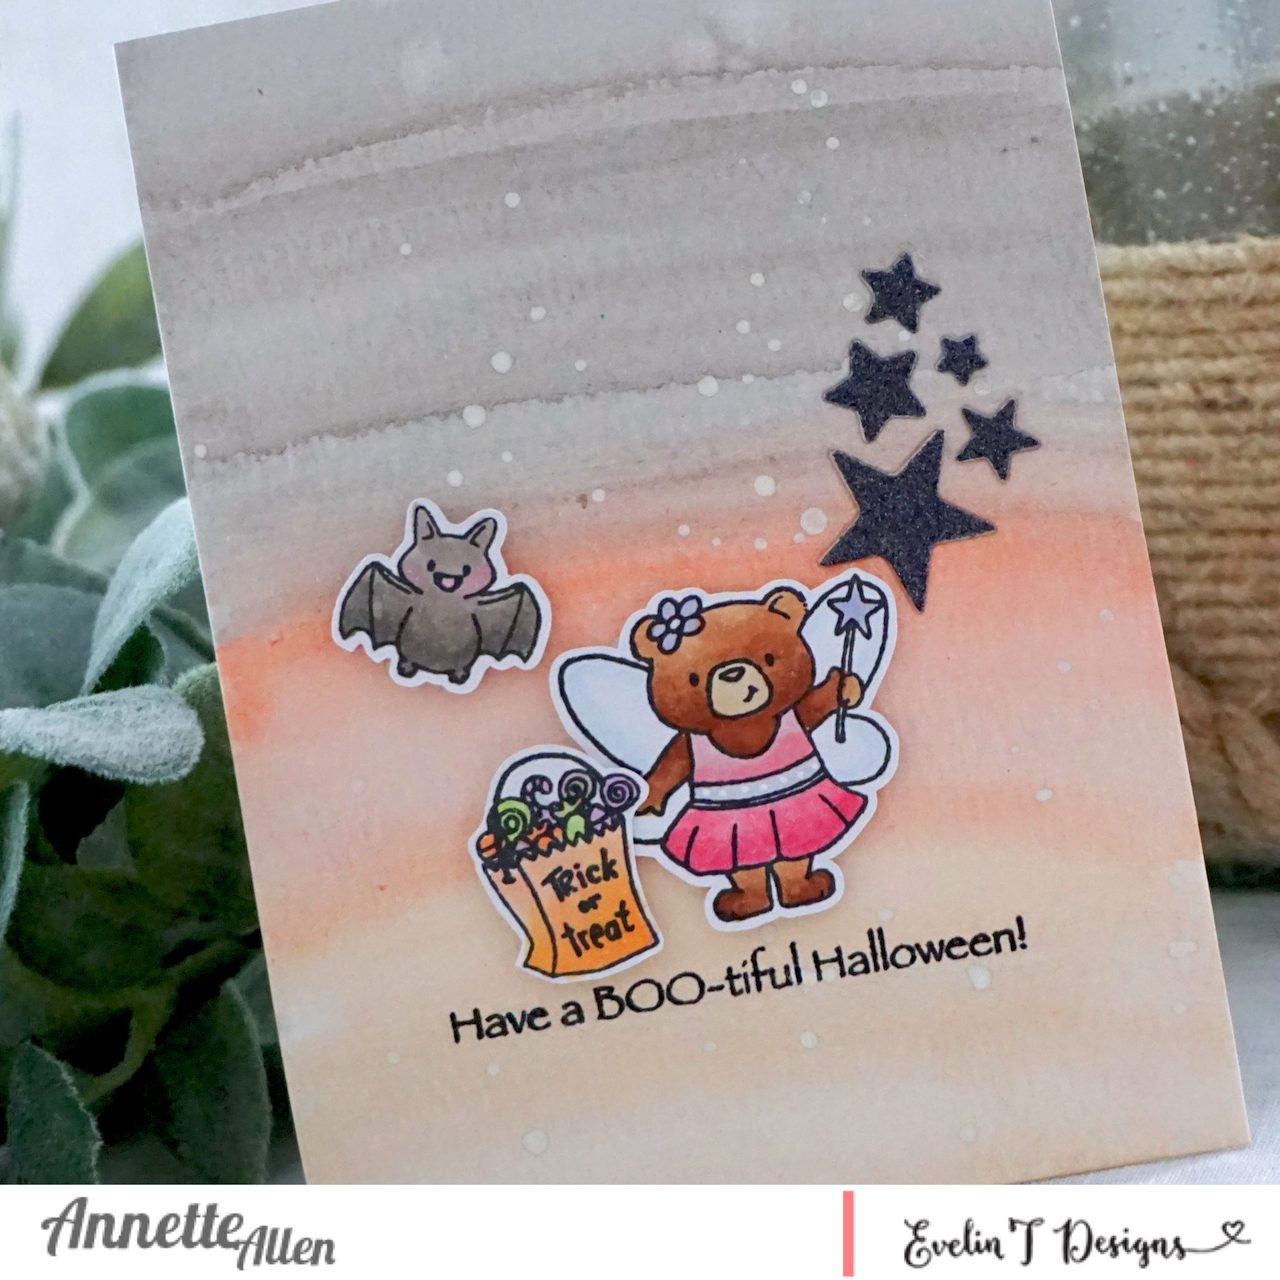
The Alpha Blocks stamp set is great to use on any card. Just make your own sentiment and color whatever color you like. It is almost Halloween so I created this Happy Halloween card. Not spooky at all just cuteness with this adorable images… right?
I created a simple watercolor background and colored the images with Copic sketch markers. I also thought it would be cute to add some more stars so I used some Teeny Star dies. The stamp set does come with some stars too if you don’t have a die of stars. I wanted to use glitter paper that is why I went with the die.
Hello Everyone! So thankful to be here with you all and especially my talented friend, Evelin! I’ve met Evelin in California at the CHA shows and have been on teams with her before. I always knew she would succeed with her amazing talent! My main love is memory keeping, but I do love to make cards and do mixed media. I dabble in a little of everything. But before I actually make anything, I really enjoy tinkering and playing with product and then see where the creativity goes. So for today’s post, I will share some of that tinkering with a Traveler’s Notebook I created inspired by the products.
The Coffee Art stamp set really had me inspired to create this Traveler’s Notebook to document small happy moments. I started by measuring, trimming and then stamping some of the images using black ink onto grey cardstock. For the inside pages I used a Strathmore Sketch Paper Pad. The reason for this paper, is I wanted the pages to be thin. I can then either create on top of the pages, or my favorite is to work off the page, and then adhere my creation on top. Will share more of that in a bit. I also have a video showing how the inside pages came together, you can find at the end of this post.
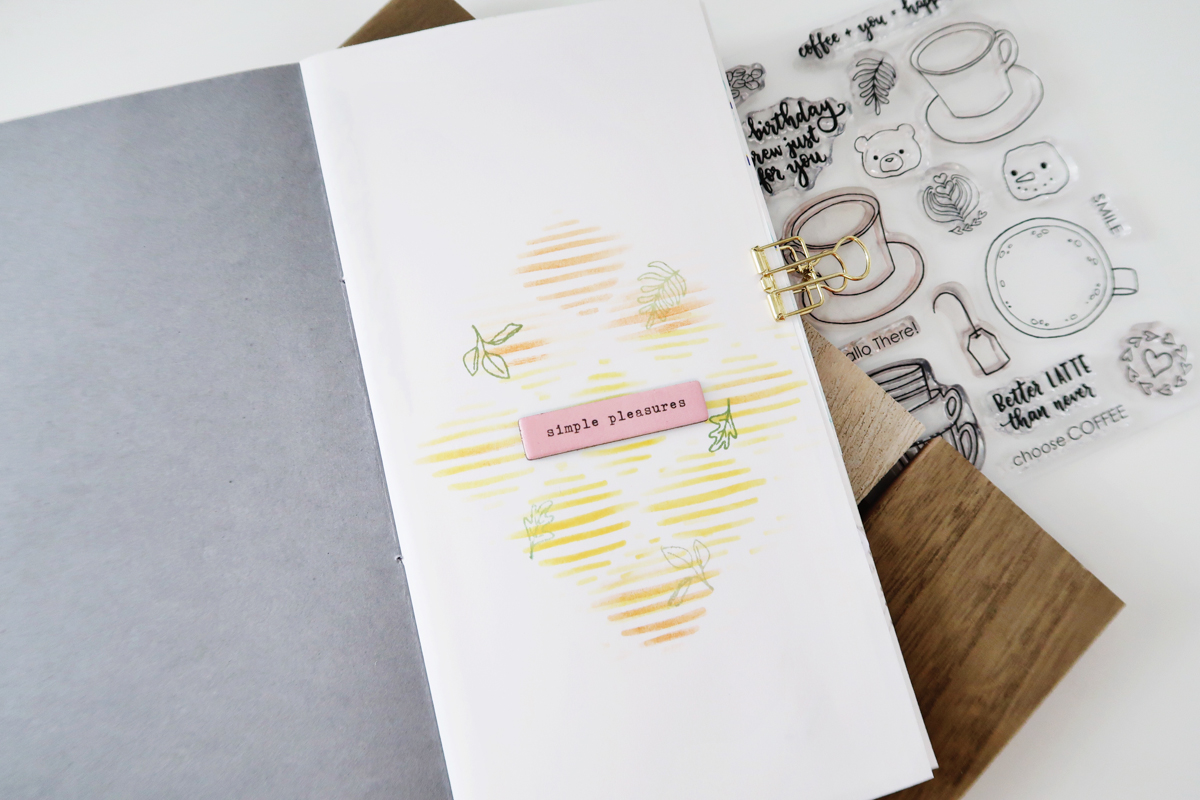
For my first inside page, I wanted something there but very simple. So I used a stencil and inks to create a blended ombre look, then stamped some of the leaf images from All Hallow’s Cuteness and Coffee Art in shades of green ink. I finished it with a chipboard piece in the center.
Now for my first full page spread in my album, I was inspired by the Coffee Art stamp set again to use with this photo, which happens to have a coffee cup 😉
Because my inside pages are thin, I could see the ink from the first inside page showing through. To Fix this, I either adhere two pages together, but in this case, I wanted to work off-the page first and then adhere to the TN page. I first started by stamping the leaves from the All Hallow’s Cuteness stamp set, then used a ruler to draw lines. I used this to type my journaling.
I stamped and colored a good bit before creating this project. The little toadstools I stamped and watercolored from the All Hallow’s Cuteness were the perfect touch to this woodsy, whimsical memory. To add a little more texture, I used a light green ink to stamp the circle heart image from the Coffee Art stamp set. I finished that page with washi tape, die cuts and puffy stickers.
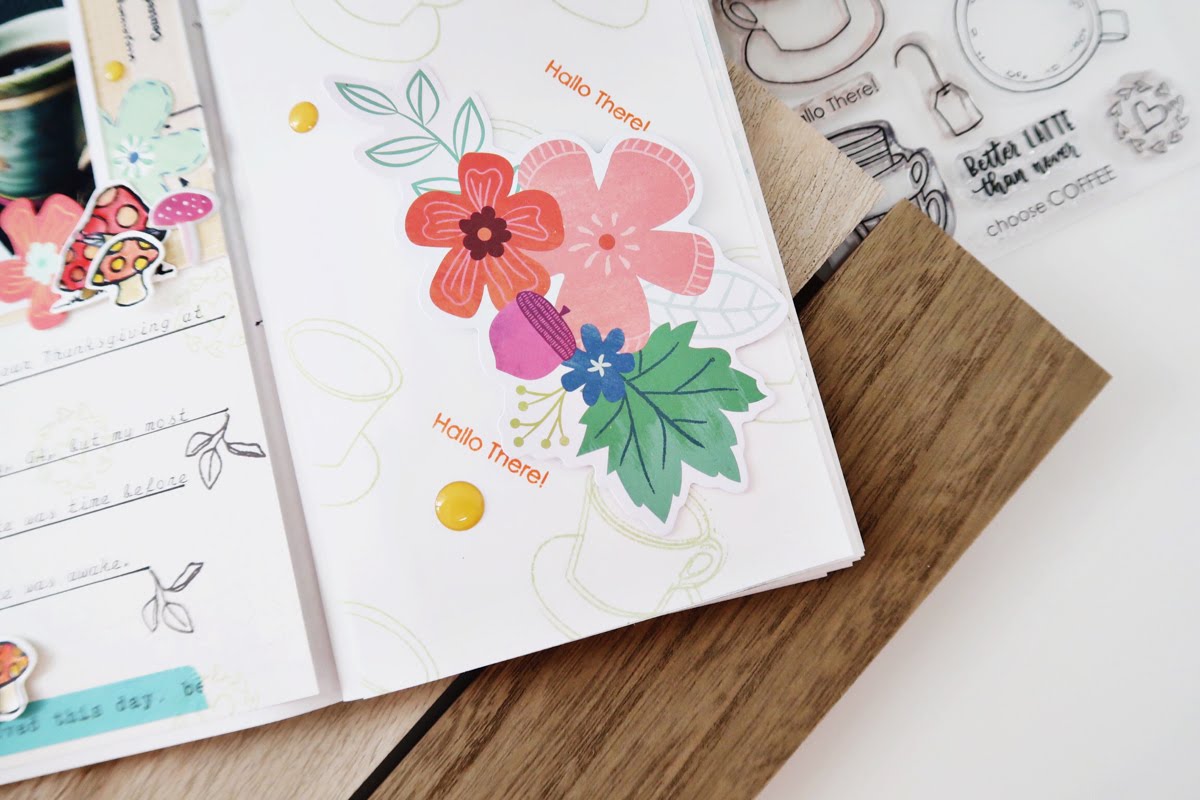
For the right side, I wanted to show more of the cup images, so I created a repetitive pattern on a separate piece of the same paper. Then stamped in the ‘Hallo There!’ sentiment from the same stamp set. I am choosing the green and the orange inks to complement my photo, the colored images and die cuts I used on the left.
I finished this side with another die cut which covered up an imperfect stamped image I did (oops), and then finished with enamel dots. The die cut also helps to balance with the left side. Then I adhered both of these pages onto the inside pages of my album.
The sentiment ‘coffee + you = happiness’ inspired me to document me and my daughter at Starbucks with her new phone, taking and sharing her first selfie photo for my next spread in my TN album. I also kind of love the bear and the snowman marshmallow images from the Coffee Art stamp set. The bear went perfectly with my daughter’s fuzzy headband too 😉
I worked directly on the pages of the album to ink a starburst that repeats the image in the top left from the photo. I wanted the sentiment to be the focal in between the stamped images.
I typed and then detail cut and stitched labels together to add my journaling.
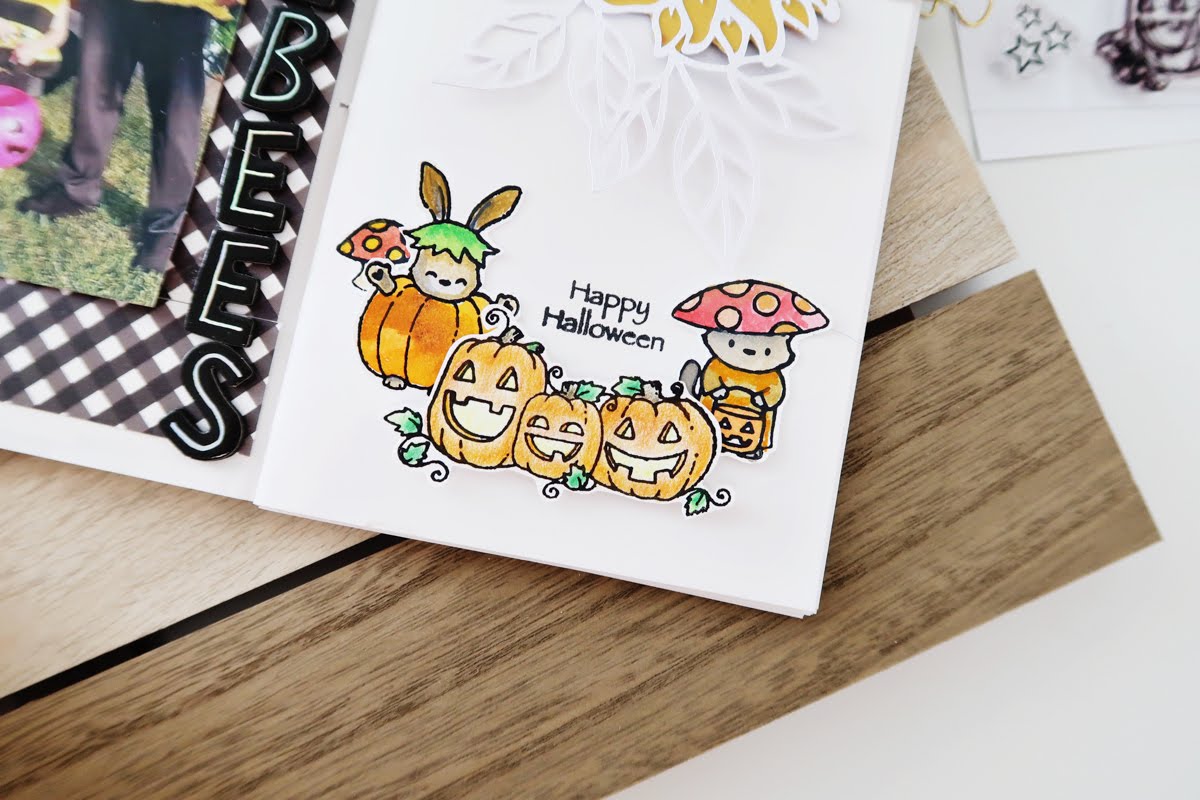
For my last page to share today in this Traveler’s Notebook, I created a Halloween page. I had lots of the Halloween images stamped and colored as well. I used a cut file from Citrus Twist Kits that went perfectly with my photo but also great little spots for those adorable, little images from the It’s Boo-Tastic! and All Hallow’s Cuteness stamp sets.
All of the images here were colored with watercolors, except the three jack-o-lanterns. I love how well the mixed together to create a fun cluster with the stamped ‘Happy Halloween’ right in between them.
I used foam alpha stickers and enamel dots to finish this spread.
I did not have a plan for each one of these pages. But I love how the inspiration comes as you stamp and color. Hope this inspires you to try your stamped images in your memory keeping or gives you some ideas for your next card! I will be back in November to share cards as a guest again here with Evelin T Designs!
I do have a video showing how these pages came together. You can watch it in HD on my YouTube Channel here or below. Thank you so much for letting me share and guest!
Today is Day 2 of Sneak Week and our feature stamp today is called It’s Boo-tastic! More cute little critters in this sets and as mentioned yesterday, our Halloween sets coordinate with each other to create multiple scenes in which they can all interact with each other.
One of the things I keep in mind when designing is how our new sets can be used with our previous sets to create totally new and fun scenes which brings new life to the sets each time we have a new release!
Our September Release will be available in our Store on Monday, September 9th at 9am EST. It’s super easy to remember the date and time for this release… it’s all N-I-N-E-s!
For more sneaks from our Designers, hop on over to Instagram where I linked their accounts and their sneak pics.