Posted on 2 Comments

Halloween card set with clever use of stencils

Hello everyone! Jenn Shurkus from shurkus.com back here today to inspire you with some fun masking and stenciling techniques. Fall is here, a perfect time to create some Halloween cards. I know trick-or-treating may look a little different this year, so I wanted to create some fun cards to send to my niece and nephews.

I used the Its BOO-tastic and All Hallow’s Cuteness stamp sets to create this set of cards. Firstly, I started off by stamping one critter per sheet of cardstock. Then, I colored them with Copic markers and stamped the images again on masking paper, fussy cut them out and covered each of the images with the mask.

Next, I started to build a scene for each critter using some stencils. I used a grass, clouds, a starry background, and a moon stencil. The moon stencil I created myself, by die-cutting out a circle from a plastic piece. You can see in the first photo below. I will end up using the positive and negative of this “moon stencil”.

Using the Wendi Vecchi Stay-tion, which is a magnetic board has made working with stencils SO MUCH easier, and more enjoyable. I find myself wanting to stencil more! I start with that and lay down one of the critter cardstocks. Then I use Thermo-Web purple tape to create a clean line and hold the paper in place. Because I knew I was going to do a lot of ink blending above the tape, this will keep any ink from getting where I don’t want it.

Next, I started by inking the grass, using a stencil, blender brush and Hickory Smoke Distress Ink. This particular grass stencil has a mask on the other side, so I slid the stencil down, to mask it and layered on top the sheet of plastic I cut a circle from. I then ink blended the moon with a blender brush and Mustard Seed Distress Ink. I also used a touch of Fossilized Amber Distress Ink to ink the bottom edges of the moon to give it dimension.

If I wanted to cover the moon, so that I could add clouds and or stars like above, I used a piece of Purple Tape, rolled to hold that circle that I die-cut out of plastic over the moon. I then ink blended the clouds using a blender brush and Hickory Smoke Distress Ink. Keeping the moon mask in place, I then placed a starry stencil over it, and ink blended that with Seedless Preserves Distress Ink.

When masking, and layering a one layer card or background like this- plan out what you want your scene to look like and work backwards. Whatever is furthest away, or back in layers is what you would do first. The items that you mask will be in the front or foreground when all is done.
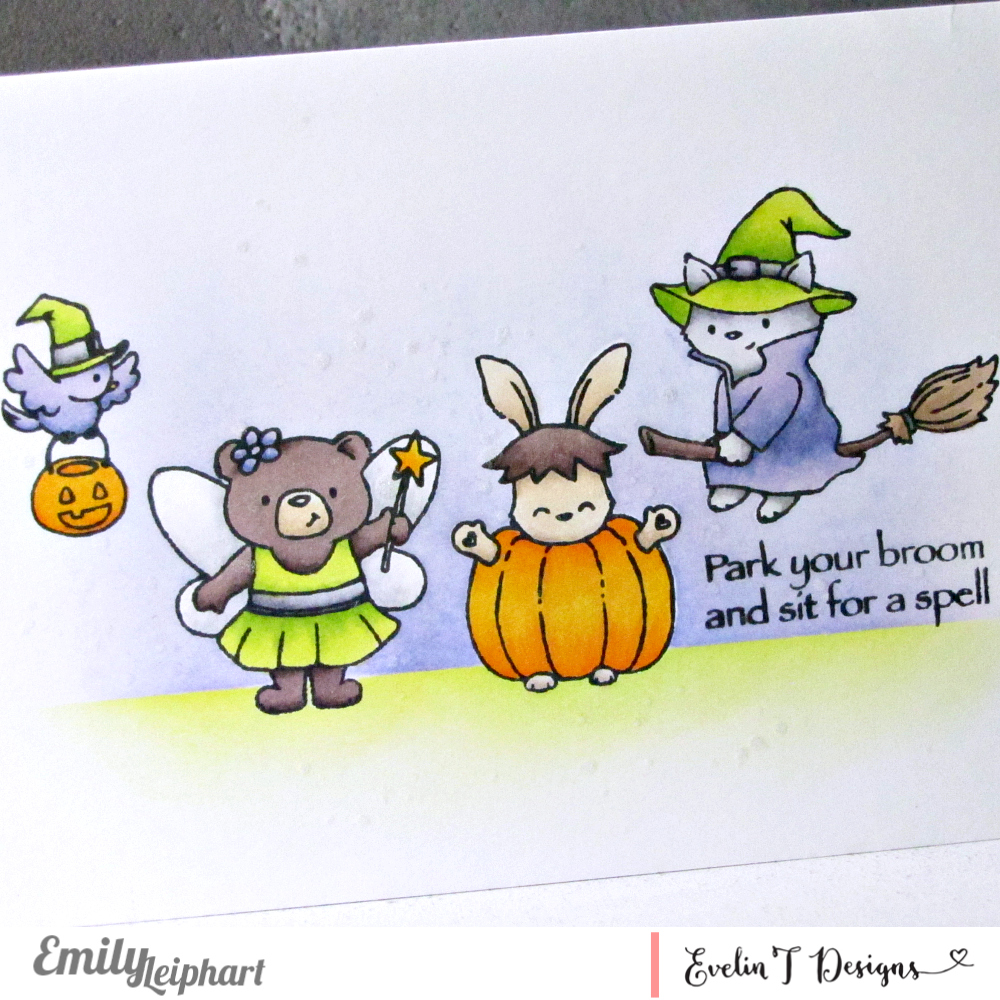
For the witch card:

  • Masked the witch
  • Stenciled in the moon
  • Masked the moon
  • Stencil in the clouds and stars.

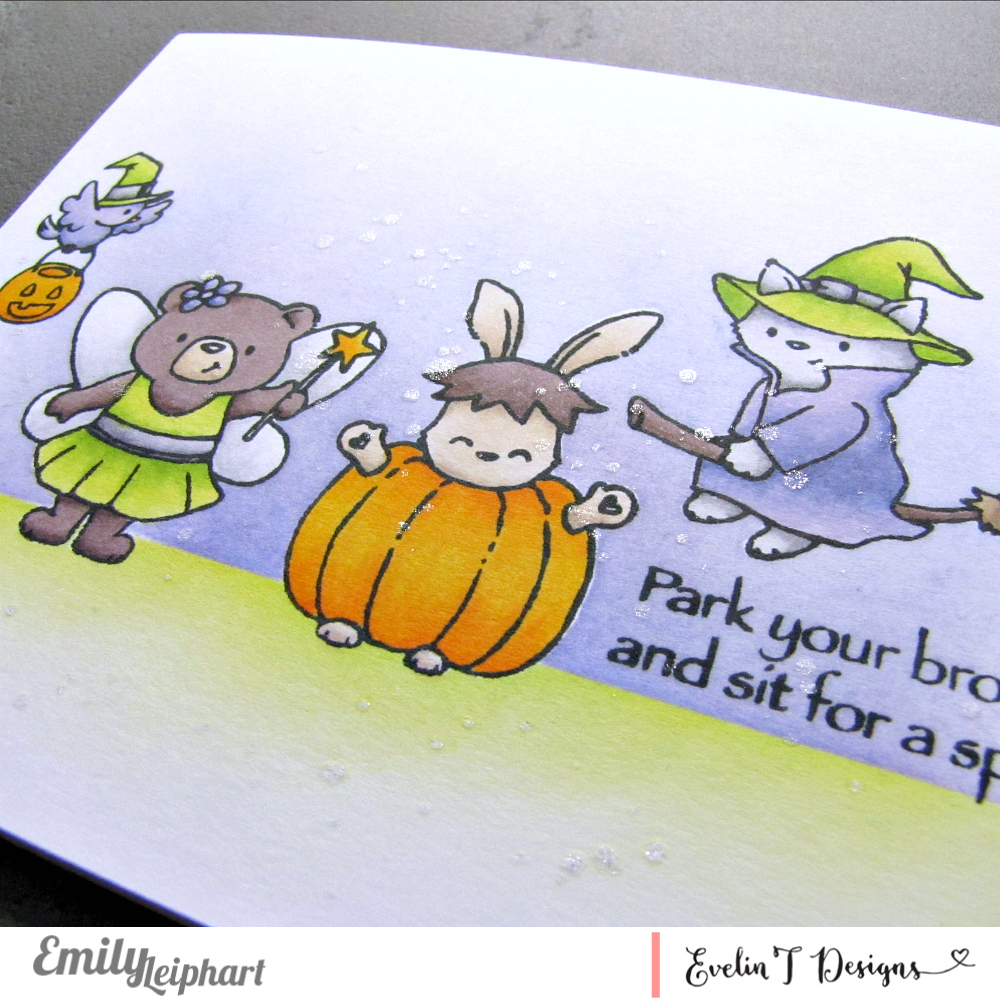
For the jack-o-lantern card:

  • Ink blended the grass
  • masked the grass
  • ink blended the moon
  • masked the grass and moon
  • ink blended the whole background with Seedless Preserves, Ripe Persimmon, Wild Honey, Mustard Seed Distress Ink
  • ink blended starry stencil with Black Soot Distress Ink

Finishing touches I did for each card:

  • I stamped, fussy cut out the “BOO” speech bubble, and adhered with a foam dot
  • I added some prisma glitter to some of the stars using a Quickie Glue pen and Prisma Glitter
  • TIP: with the Franken-bear card, my stencil moved a bit when adding the stars, adding glitter on top covers that small mistake up
  • Trimmed down each card to 2.75″ x 4″
  • Die-cut a scalloped frame from various sparkle cardstock for each card. Adhered the card to the frame
  • Stamped a sentiment on each card
  • Using foam, adhered these panels to an A2 card front made out of woodgrain cardstock

Time Saver Tip: If you go through the trouble of cutting a mask, adhere the mask directly to the stamp set so you will be able to use them again. When using masking paper you can use them over and over and over if you are gentle with them.

I hope you find these cards inspiring, and it makes you want to create some Halloween cards too, or experiment with stencils and masking! I have more specific details about the supplies I used over on my site here.

This is my last guest post for this month, just wanted to say a BIG thank you to Evelin for inviting me to share with you guys! This has been so fun!

Posted on 2 Comments

You Are So Sweet

Happy Monday! I was aiming to make an Easter card but when it came to the sentiment and trying to figure out how to create an Easter sentiment with non-Easter words, I scrapped that idea in favour of all-things-bunny.

I used the bundled up bunny from Warm Winter Wishes (also available at EH | SSS), the bookworm bunny from Reading Buddies (also available at EH | SSS), and both the coffee-loving and snacking bunnies from Coffee Loving Critters (also available at EH | SSS).

I coloured all of the bunnies with Copic markers, fussy cut them and set them aside to create the background. I used masking paper, life changing blending brushes, and abandoned coral and tumbled glass distress inks to create the ground and sky.

Then I stamped the sentiment from Coffee Loving Critters (also available at EH | SSS) with three shades of ink, adding a second heart to balance out the colours. To finish, I adhered the bunnies to the card base with three sizes of glue dots.

Please visit my blog for a full supply list. Thanks so much for stopping by!

Posted on 2 Comments

Rustic Coffee, You, and Happiness

Hello! Heather Hoffman here this morning with a card a fun card to share with you using the adorable Coffee Loving Critters stamp set. Do you ever just have some pattern paper you want to create something with, and base a card around that? That is pretty much what happened for this card!

I had this adorable Echo Park Little Lumber Jack 6×6 paper pad, so I pulled out a few of the coordinating papers to layer up. I die cut a rectangle, and then a heart window in the center of it using a couple of Simon Says Stamp dies, then layered it over some of the woodgrain paper

Next, I stamped those adorable mugs from the Coffee Loving Critters stamp set, colored in the “coffee” on the inside, and paper pieced the cups with some of the pattern paper in the pad, adding a bit of shading and depth with a Copic marker. I also added a layer of Glossy Accents to the coffee in the cups to add some shine.

I layered those with foam adhesive over the heart, and then stamped a sentiment on a strip of white cardstock from the same stamp set, and colored in the little heart with a Copic marker as well, then mounted that with foam adhesive under the coffee mugs.

Finished off by trimming some of the paper into strips, adding a torn edge, and attaching with small staples in a criss cross pattern.

Thanks so much for stopping by today! Have a wonderful day!!!

Posted on Leave a comment

Christmas Window Card

Hello! Heather Hoffman here this morning with a fun card to share with you using All is Calm and Warm Winter Wishes to create this this fun Christmas window scene! I thought it would be fun to take a portion of the scene from All is Calm and make it mimic looking into a window as a family decorates their Christmas tree – I love how it came out!

I started off by die cutting a window from white cardstock using a Simon Says Stamp die called Stitched Window Frame. I then stamped the part of the image I wanted to use on a small piece of white cardstock, then trimmed it down to fit just right behind my window.

Once I had that decided, I went ahead and colored the image in with Copic markers – love this cute little snippet of the image!

I then mounted the window over that panel with foam adhesive, then mounted it on my kraft cardbase. Can you see the bit of a 3 dimensional look it gives?

After that it was simply a matter of stamping some sentiments underneath. I used a combination of sentiments from All is Calm and Warm Winter Wishes – the perfect finishing touch!

Thanks so much for stopping by today! Have a wonderful day!!!

Posted on Leave a comment

Bird on a Snowman – Warm Winter Wishes

Hello! Heather Hoffman here this morning with a card that I had SOOO much fun making! It was one of those cards that you picture and want to try, and love so much when it comes out like you were picturing in your head – so great when that happens! I combined two different stamp sets – Good Tidings to You and Warm Winter Wishes to create this little one layer scene!
As I was looking at my stamp sets, it occurred to me that the little birdie from Warm Winter Wishes would look super cute on the snowman from Good Tidings to You – so I did a bit of masking to add the birdie on the snowman.

Since I was already in the mode of masking by now, I went ahead and added a mask over both images, a circle mask around the entire scene, masked off a line along the bottom, then did some ink blending, finishing off with lots of white paint splatters for snow.

I let the paint dry, then stamped my sentiment along the bottom and added a bit of coloring with my Copic markers. One particularly fun touch is the bit of shadow added under the snowman with Warm Gray markers – I love how it makes the scene feel like it is a little more dimensional even with only one layer!

Thanks so much for stopping by today! Have a wonderful day!!!
Posted on 3 Comments

Critter Window Card

Hello! Heather Hoffman here this morning to share a card using the adorable new Good Tidings to You stamp set – one from the new release that I hadn’t had a chance to play with yet…and it is SOOO CA-UTE!!!

I thought it would be fun to create some windows and have some of the cute images peeking through from the windows. I die cut 3 different size windows with a basic circle die from a panel of white cardstock, then lined up and stamped 3 of the cute images from the set behind the windows on a white cardbase.

I then had fun coloring in all those sweet critters, then added some sparkly Nuvo glitter drops on all the red parts of the image – I love the shine and sparkle that adds!

Once that dried, I stamped my sentiment on the front window panel, then adhered that with foam adhesive on the card – this gives it a bit of dimension which is fun with the windows.

Finally, for just a bit more sparkle, I added some coordinating green jewels sprinkled around on the card!

Thanks so much for stopping by today! Have a wonderful day!!!

Posted on 3 Comments

All Hallow’s Cuteness

Happy Monday! I’m so excited to be posting on the Evelin T Designs blog with a card featuring the new stamp set All Hallow’s Cuteness. These Halloween illustrations are as cute as can be! I used the bird, bear, bunny and cat who are all ready for trick or treating in their costumes. It’s so easy to create scenes with these cuties.

I stamped all of the images and coloured them using Copic markers. Then I stamped the images again on masking paper and covered the coloured images so I could sponge the background with distress inks.

After all of the colouring and ink blending was done, I used shimmer mist to splatter the panel. It adds a feeling of ‘magic’ to the scene, as if the bear fairy and cat witch are casting a spell on the bunny. The shimmer is hard to capture on camera but is so pretty in person.

If you missed the September Release Blog Hop, head over to THIS post to see more inspiration and leave comments by 11:59 p.m. PST on September 22, 2019 for your chance to win a $25 gift certificate to the Evelin T Designs online store.

For a full supply list, please visit my blog. Thanks so much for stopping by!